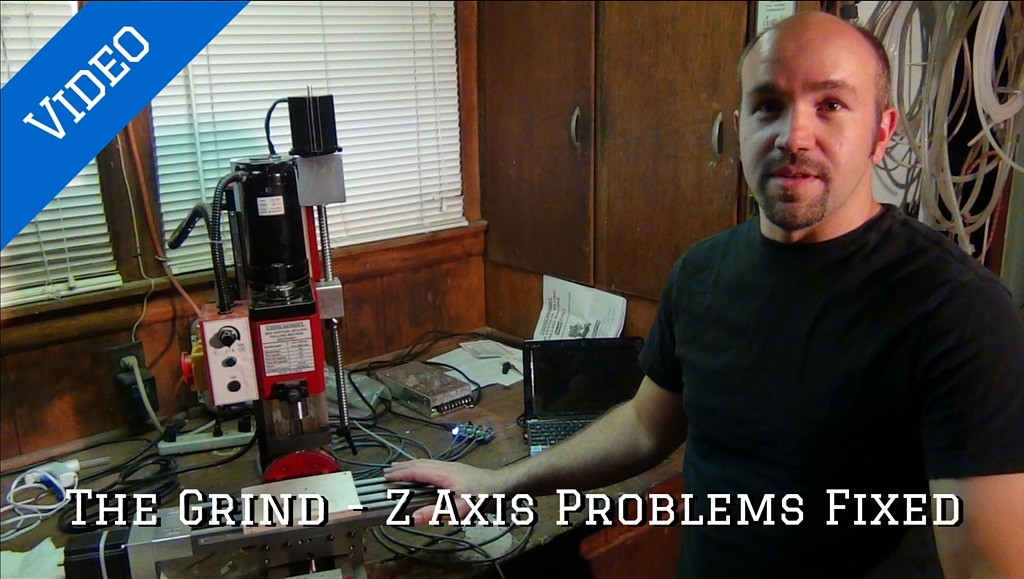
Sometimes it pays to read the directions! I experienced the dreaded “z-axis grind” that occasionally happens with installations of the CNC Fusion Kit. Check out the video below to hear how I solved the z-axis problem and some tips on making the z-axis installation go more smoothly.
Click Here to Watch the Video on YouTube
The Problem
When I jog (command the z-axis to move) the head of the mill would not move as commanded. The stepper motor would occasionally stall and often run in the opposite direction than commanded. There was a horrible grinding sound when the Z-axis would attempt to move.
The Solution
I left the spring assist connected thinking it would help the stepper motor raise the head of the mill. Turns out, this was the problem. After I disconnected the spring, the z-axis worked perfectly. Now, if I had paid attention to the instructions associated with the CNC Fusion Kit, i would not have had this problem. The instructions specifically state to disconnect the spring assist.
Alignment Tips
Aligning the z-axis takes some patience. However, a few tips can make the experience more pleasant.
- Start by attaching the the ball screw block to head of the mill using the socket head cap screws to hold the block loosely. This will allow the z-axis ball screw to pivot slightly.
- Lower the head and/or adjust the ball screw so that the upper z-axis block rests on the top of the column. Rotate the upper mounting block so it contacts the face of the column. This should cause the lower ball screw block to rotate. Temporarily attache the upper block.
- Install the Z-axis stepper motor and run the z-axis through the complete range of travel. I like to put a block of wood on the table of the mill just in case something comes loose.
- Once the z-axis moves smoothly secure the ball screw block and use a pencil to mark the three sides of the ball screw block. Also mark the location of the mounting holes for the upper z-axis block. Check the z-axis movement again.
- Remove the upper block and raise the head of the mill to install the large 12mm socket head cap screw. As you tighten the 12mm screw, watch the pencil lines on the ball screw block to ensure it does not move.
- Lower the head of the mill and install the upper z-axis block per the CNC Fusion installation instructions.
Final Thoughts
Overall I am really pleased with the CNC Fusion kit. I am looking forward to making some chips.
What are you building in your shop? Let us know by leaving a quick note in the comments.
Thanks for reading. Until next time…
Tim

Hi I have a problem with my settings and the error is the alarm and just can’t get past that have tried to reset my axis with no joy. Ps.I’m n first time user of the cnc hobby and not fermiliar with all settings as jet but I’m learning and try to fix it my self so that if I get simular problems hopefully I can sort it my self.
Johan – Thanks for reaching out and telling us about your problem. Will you tell me a little more about your problem & I will make some suggestions on how to solve it? What alarm code was sent when you received the alarm? Does you machine use limit switches?