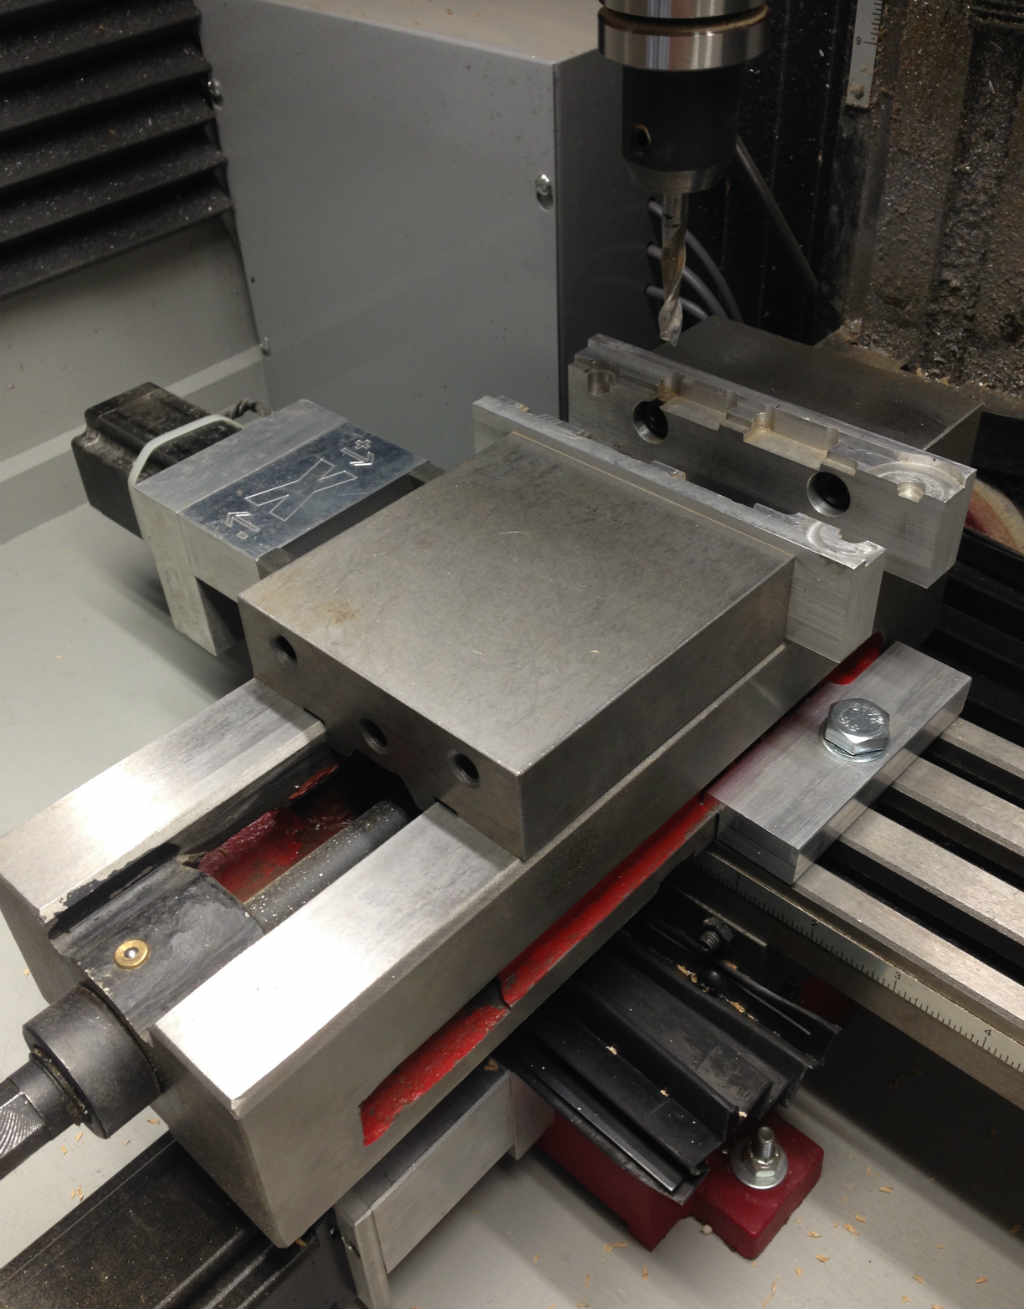
What is a vise? No, we are not talking about vices… I am talking about big chunks of metal that squeeze stuff!
Soon after I purchased my CNC mill, I knew that I would need a way to hold parts on the machine. As I searched for options, I kept coming back to a CNC vise. I purchased the one you see above for ~$110 + shipping (USD). If you know that’s what you want, click to purchase a 4″ CNC Vise for your machine. If not, read on to see which vise option is right for you.
Affiliate Disclosure – Note some of the links on this page are affiliate links. If you purchase a product using one of the links, DIY Machining earns a small commission. There is not additional cost to you compared to purchasing directly from the linked site. Click here for more details about how we use affiliate links.
What is a Vise?
The Merriam-Webster dictionary defines a vise as “any of various tools with two jaws for holding work that close usually by a screw, lever, or cam.” That’s pretty broad. Dictionary.com is a little more specific “any of various devices, usually having two jaws that may be brought together or separated by means of a screw, lever, or the like, used to hold an object firmly while work is being done on it.“
For the remainder of this post, when I talk about vises, I am referencing a tool with a fixed jaw and a movable jaw. Fortunately or unfortunately, there are still a plethora of options when choosing a vise. The following are the vises I considered for my CNC mill. I also included the evaluation criteria to help you select the right vise for your machine. You might find a different vise to work better in your application.
Types of Vises
– Machinist vise
These are the traditional vises you see on many manual milling machines. The flanges on the side of the vise provide a simple and convenient method of securing the vise to the mill table. The disadvantage of these vises is they take up more real-estate on your mill table compared to the other options described below. These vises come in two flavors: one with a swivel base and one with a fixed base. See the images below for examples of each. These are both solid choices for a first vise.
– Standard Bench Vise
These are the ones you might find on a work bench. Great for general purpose work holding but not made for use with a CNC mill, router or standard milling machine.
– Tool Maker Vise
These low profile compact vises are great for small work pieces. The vise clamping method is less convenient than a machinist or CNC vise. However, these are a great option when Z height is an issue like on some CNC routers. These are also called screw-less vises.
– CNC Vise
A CNC vise is compact and precision ground on multiple sides. Unlike a standard vise, it does not have traditional flanges used to bolt it to the table. Each side is perpendicular to the next. This allows the vise to be positioned on it’s side, end or bottom to meet the work holding challenge. These also have removable jaws which can be replaced.
 Why I chose a CNC Vise
There are plenty of options for vises. The benefits that drew me to the CNC vise were the following:
1 – Rigidity
I liked the robustness of the CNC vise. There seemed to be a lot more metal in the vise compared to other vises of the same jaw width.
2 – Versatility
You can mount a CNC vise on its side with the jaws facing sideways.
3 – Expandable
The jaws on a CNC vise are interchangeable which means you can make custom jaws know as soft jaws to hold irregular shapes.
4 – Compact
Traditionally, CNC vises offer the same rigidity and clamping power of the standard machinist vise in a smaller package. This was appealing to me since the Harbor Freight Mini Mill does not have a huge table.
The downside of the CNC vise is it takes up a lot of Z height. This has not been an issue for me but if your machine has a smaller Z axis travel range, you might want to look at this in more detail.
I love my 4” CNC vise. Yes, it looks a little big on my Harbor Freight Mini Mill. However, I am not sure what I would do without it. I replaced the standard steel jaws with a set of aluminum soft jaws. These have a shallow step in them. This eliminates the need for parallels.
Click to purchase a 4″ CNC Vise
 Conclusion
My 4″ CNC vise is almost 5 years old at this point. I can only think of a few projects that required me to remove the vise from the mill table. Once you have your vise, you will need a way to ensure the back jaw of the vise sits parallel to your X axis. If you don’t have a dial test indicator, I recommend you buy one. Its very difficult to set a vise on a mill without one.
Let me know if you have any questions or feedback in the comments section below… As always, feel free to contact me directly at Tim@DIYMachining.com
Thanks for reading. Until next time… Tim


